
XAMPP is a cross-platform web server used to develop and test programs and web applications, created by the Apache friends organization. It is open-source software, so its code can be modified or revised by the audience.
The XAMPP is supported by various platforms like Windows, Linux, and macOS.
Table of contents
- What is XAMPP?
- How to Install XAMPP: Tutorial Guide
- XAMPP Control Panel
- Administrate the Modules of XAMPP
- Summary
What is XAMPP?
In the XAMPP abbreviation,
- X stands for cross
- A stands for Apache
- M stands for MariaDB
- PP stands for Perl and PHP
The components and software of XAMPP:
- Apache. Apache is a popular HTTP web server that hosts various websites and web applications.
- MariaDB. MariaDB is RDBMS used to store, manage, manipulate, and view the data. Initially, MySQL was part of the XAMPP software. Later, MySQL was replaced by MariaDB.
- PHP. PHP is a scripting language that is used to develop dynamic websites and web applications.
- Perl. It is a combination of dynamic languages Perl 5 and Perl 6.
- XAMPP Control Panel. The XAMPP control panel is a central console used to manage all components and software of XAMPP.
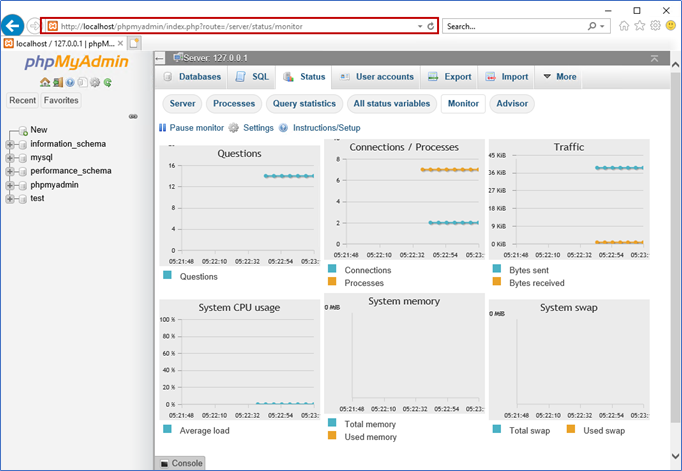
- PhpMyAdmin. It is a web portal that is used to administrate the MariaDB database server. We can create a database, execute a query on it, and monitor the performance of the database server.
- Open SSL. It is an open-source implementation of SSL. (Secure Socket Layer)
- Tomcat. It’s a servlet that provides JAVA functionalities.
- Mercury. It is a mail server for sending emails.
- Webalizer. It is a web analytics software that provides details of usage and User logs.
In this article, we are going to examine the step-by-step installation and configuration processes of the XAMPP software on Windows Server 2019.
How to Install XAMPP: Tutorial Guide
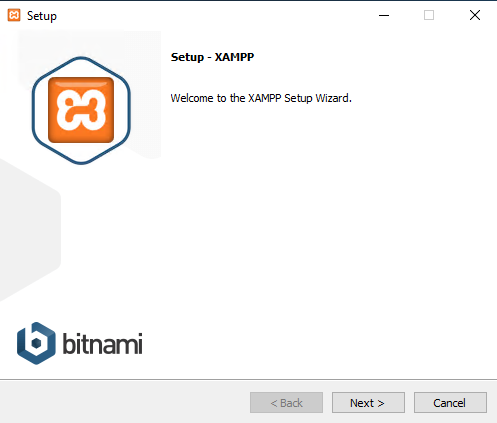
The first thing to do is to download XAMPP from the official Apache Friends website or FileHorse website. Once the setup file is downloaded, execute it, and the installation wizard opens. In the welcome screen, click Next.
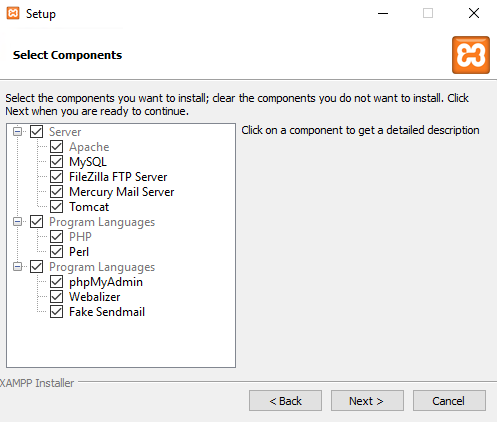
You can choose the components you want to install on the Select Components screen. We are installing all components. Select them all and click Next.
On the Installation folder screen, specify the directory where you want to install XAMPP. We are accepting the default location, so do not change the directory. Click Next.

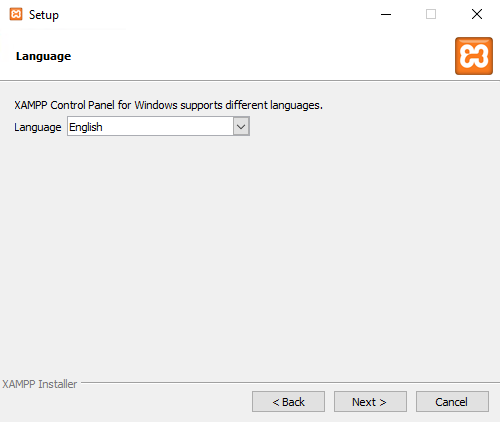
On the Language screen, choose the language to use in the XAMPP control panel. The default language is English. Click Next.
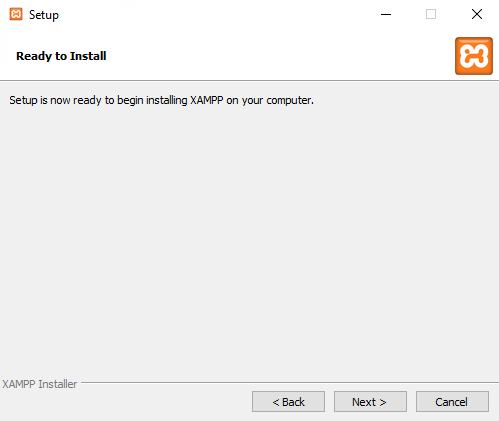
On the Ready to Install screen, click Next.
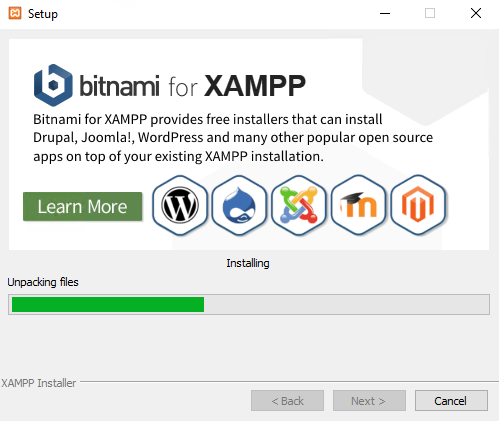
The installation process begins.
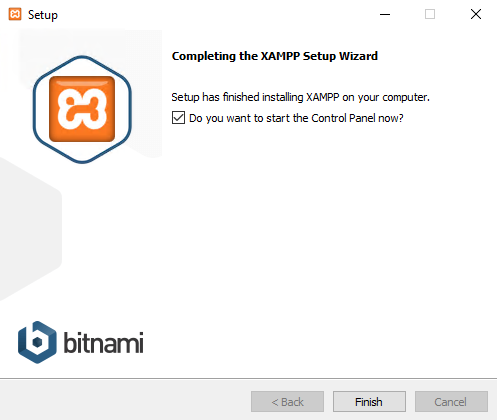
Once the XAMPP installation completes, click Finish to close the wizard. Now XAMPP has been installed successfully.
Once the installation completes, the XAMPP control panel opens:
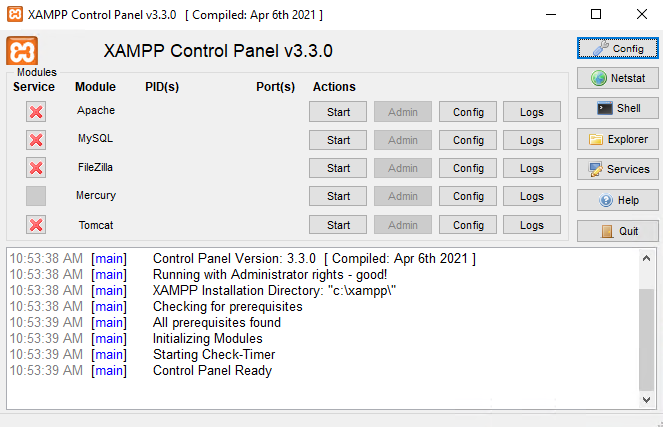
Let us understand how we can configure the components of it.
XAMPP Control Panel
XAMPP has a central console to configure the various components. We can perform the following tasks using it:
- Start and stop the services of Apache, FileZilla, MySQL/MariaDB, Mercury, and Tomcat.
- Access the Admin page of Apache, FileZilla, MySQL/MariaDB, Mercury, and Tomcat.
- Change the configuration parameters.
- Access the error logs.
Along with that, we can perform tasks using the following buttons:
- Config
- Netstat
- Shell
- Explorer
- Services
- Help
- Quit
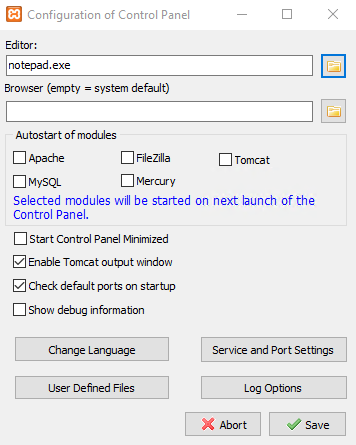
Config. The button opens the dialog window with options to configure all or individual components of XAMPP.
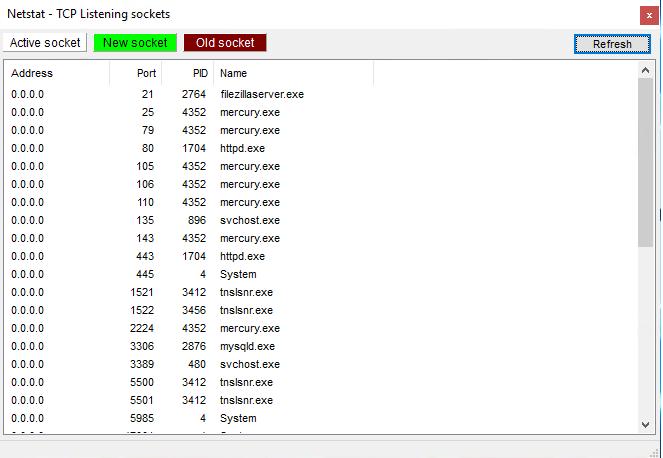
Netstat. It shows all processes that are running on the computer.
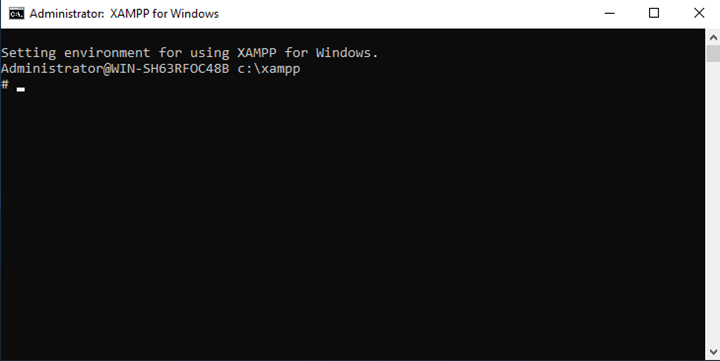
Shell. It opens a UNIX Shell.
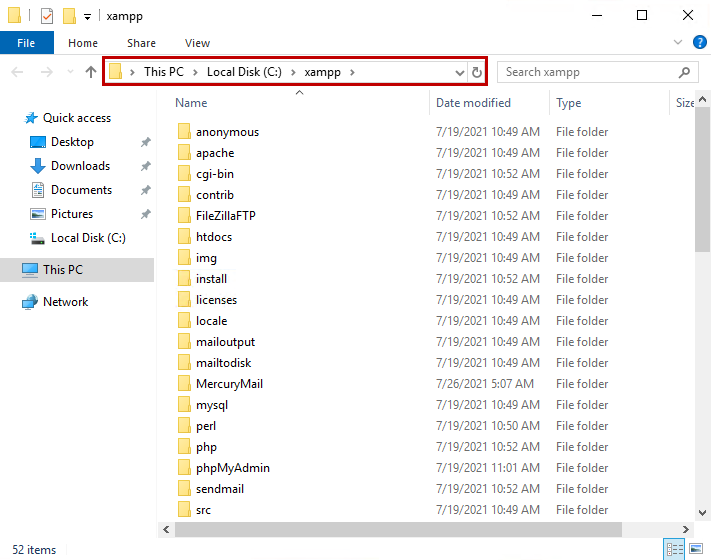
Explorer. It opens the directory where the XAMPP is installed.
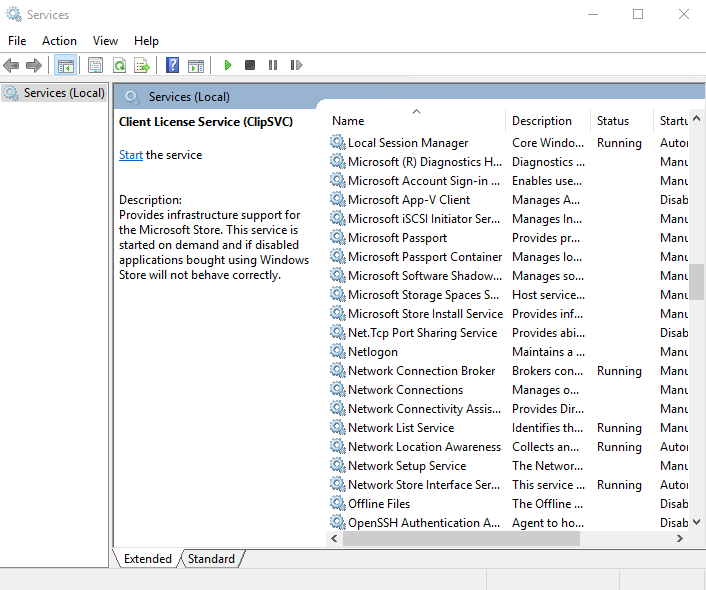
Services. It opens the Windows Services (services. msc)
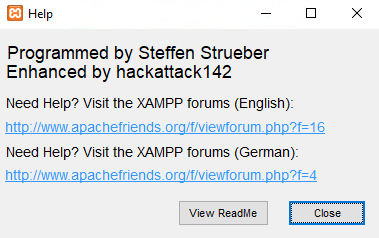
Help. It opens the dialog box with links to various blogs and forums.
Quit. Close the XAMPP control panel.
Administrate the Modules of XAMPP
There are few buttons in the control panel that will help us manage various XAMPP modules. The list of buttons and the details of actions are following.
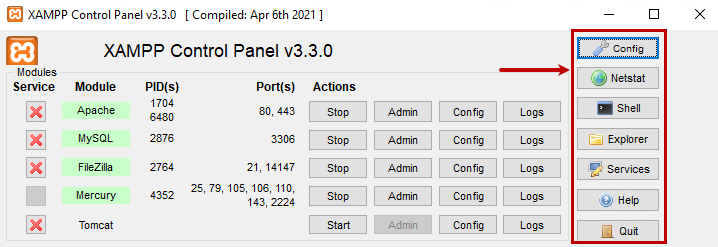
Start Button
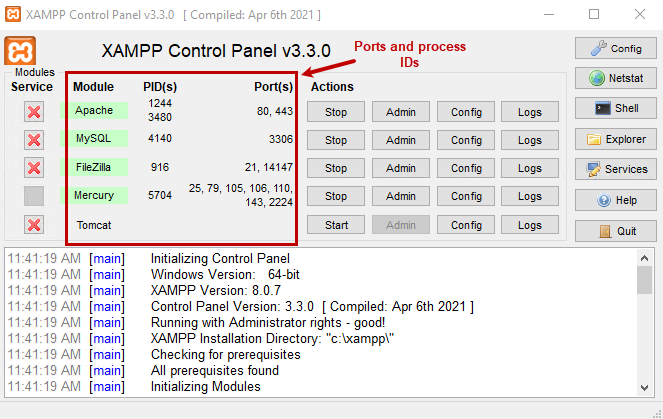
The Start button is used to start the modules and their services. When the module starts successfully, the background color of the Module name changes, and an assigned Process ID and Port are displayed under PID(s) and port(s) column.
Admin Buttons
The Admin buttons open various tools used to manage the XAMPP modules. The tools are following:
Apache Module. It opens a sample webpage that contains links to view the version of PHP and PhpMyAdmin.

MySQL/Maria DB. It opens the PhpMyAdmin web console.
FileZilla. When we click on the Admin button of the FileZilla, it opens another dialog box, where you must specify the connection parameters.
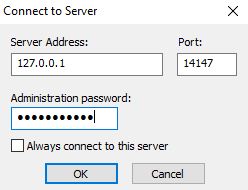
Once the connection establishes successfully, the FileZilla admin console opens.

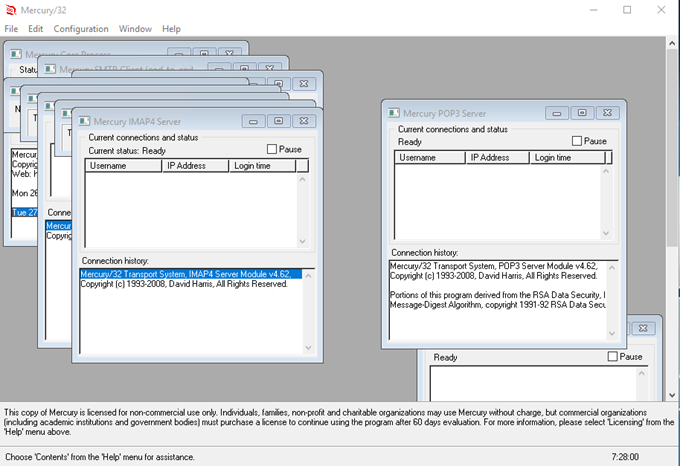
Mercury. The admin buttons open a console that is used to manage the SMTP server. You can read this article about mail for Windows to learn more about it.
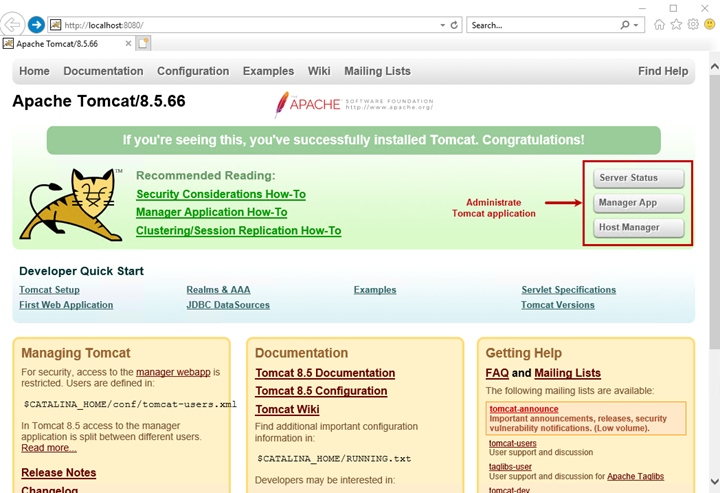
Tomcat. To run the Tomcat services, we must install JDK or JRE on the computer. When we click on the admin button, it opens a web-based console to manage the Tomcat application.
Config Buttons
We can edit the configuration files of XAMPP modules. Following is the list of configuration files of each module:
| Module Name | Configuration file name |
| Apache | Apache (httpd.conf)Apache (httpd-ssl.conf)Apache (httpd-xampp.conf)PHP (php.ini)phpMyAdmin(config.inc.php) |
| MySQL/MariaDB | My.ini |
| FileZilla | FileZilla.Server.xml |
| Mercury | Mercury.ini |
| Tomcat | server.xmltomcat-users.xmlweb.xmlcontext.xml |
When we click on the Config button, it opens another pane with the option to open the configuration file of the XAMPP modules.
Logs Button
It opens log files containing details of various events, warnings, and errors. Each module of XAMPP has its own set of log files.
| Module Name | Log filename |
| Apache | Apache (access.log)Apache (error.log)PHP (php_error_log) |
| MySQL/MariaDB | Mysql_error.log |
| FileZilla | You can view the logs from the FileZilla admin console. |
| Mercury | The default location of the Mercury cannot be accessed from the control panel. We must browse the error log in the file system. |
| Tomcat | The default location of the Tomcat cannot be accessed from the control panel. We must browse the error log in the file system. |
Summary
Thus, we have learned about the Apache XAMPP software stack and its various components and modules. The article also covers the step-by-step installation process of the Apache XAMPP software on Windows Server 2019 and explains the XAMPP control panel.
Hope that this information will be helpful for your workflow. And if you have any remarks or would like to share some personal tips on the topic, you are welcome – the Comments section is at your service.
Tags: windows server, xampp Last modified: May 02, 2023