This article deals with the basics of Semantic Search, including a complete walkthrough of Semantic Search: starting from scratch and finishing with a ready-to-use feature.
Additionally, the readers are going to learn about some of the very useful but not generally known Search features available in SQL Server like Semantic Search, which we’ll demonstrate with some basic examples.
This article also emphasizes the importance of Semantic Search for a specific form of analysis that cannot be performed with an ordinary search.
What is Semantic Search
Let’s first work out what exactly Semantic Search is and how it is different from Full-Text Search.
Microsoft Definition
According to Microsoft documentation, Semantic Search provides deep insight into unstructured documents.
Alternative Definition
Semantic Search is a special search technology or feature used to perform a comprehensive search or a comparative analysis mainly in unstructured data or documents, such as MS Word documents, provided the unstructured data is stored inside the SQL Server database.
Compatibility
Semantic Search is only compatible with the SQL Server 2012 and later versions.
Please remember Semantic Search is not compatible with Azure SQL database or Azure data warehouse cloud solutions.
This means you have to either work with a VM on Azure or on an on-premises SQL Server instance to utilize this powerful feature.
Semantic Search vs Full-Text Search
According to Microsoft documentation, Full-Text Search lets you query the words in a document; semantic search lets you query the meaning of the document.
Semantic Search together with Full-Text Search represents one joint feature offered by Microsoft SQL Server, and you can either select to install them during the installation of your SQL Server instance or later on, by adding new features to your existing SQL instance.
Prerequisites
Let us go through the prerequisites for the general use of Semantic Search along with some of the things required to follow the walkthrough(s) in this article.
Full-Text Search installed
It is mandatory to know how to set up Full-Text Search since Full-Text Search and Semantic Search are both offered as a joint feature.
Please refer to the article Implementing Full-Text Search in SQL Server 2016 for beginners to set up Full-Text Search, which is a prerequisite for installing Semantic Search in SQL Server.
This article expects you to have installed the Full-Text Search on your SQL Server instance.
dbForge Studio for SQL Server
The use of Semantic Search (in the walkthrough of this article) requires unstructured data to be stored in the SQL Server database, and in this article, we did this using dbForge Studio for SQL Server rather than saving directly unstructured data in SQL Server.
SQL Server 2016
We are using SQL Server 2016 in this article, but the steps should almost be the same for any other compatible version.
Set up Semantic Search
In order to use Semantic Search or Statistical Semantic Search, you may install it during the installation of Full-Text Search or afterward, by adding Full-Text Search & Semantic Search as a new feature.
Full-Text Search Check
Please check Full-Text Search and Semantic Search installation status by running the following script against the master database:
-- Full-Text Search and Semantic Search status
SELECT SERVERPROPERTY('IsFullTextInstalled') as [Full-Text-Search-and-Semantic-Search-Installed];
GO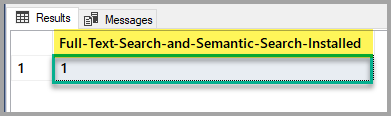
If the output is 1, then you are good to go, but if it is 0, then please refer to the article mentioned above to install Full-Text Search and Semantic Search feature using the SQL Server setup.
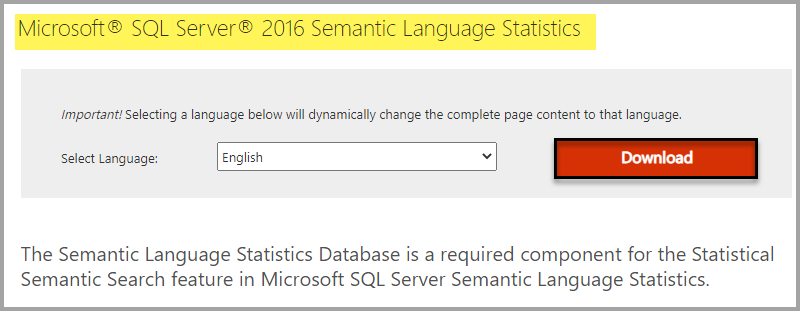
Install Semantic Language Statistics Database
Install Semantic Language Statistics Database by either searching Microsoft® SQL Server® 2016 Semantic Language Statistics on the internet or clicking the following link.
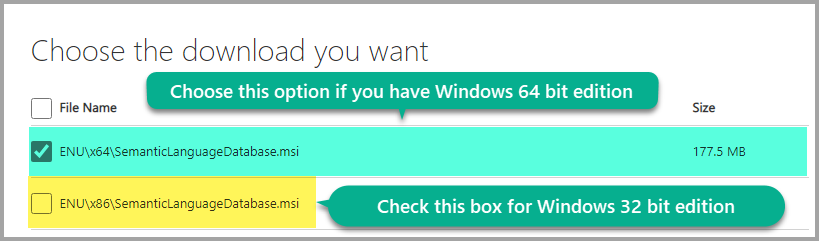
Selecting download based on your Windows edition:
Install the language database:
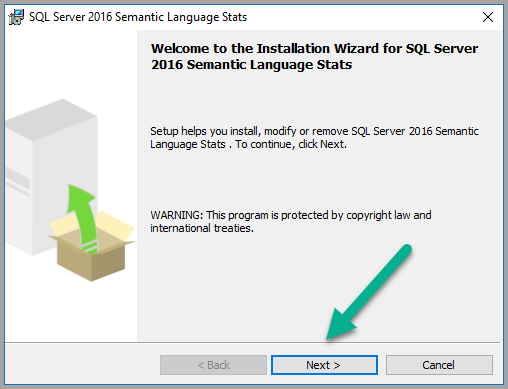
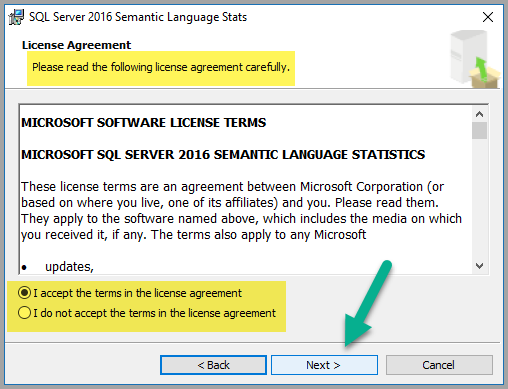
Click Next to proceed if you are fine with the terms in the license agreement:
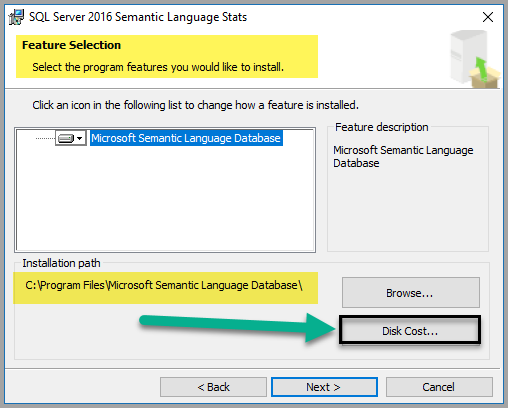
Leave the default options as they are, but it is recommended to check the disk cost as shown below:
Although the file only takes about 747 MB space (at the time of writing this article), check the disk cost to ensure you have enough space available:
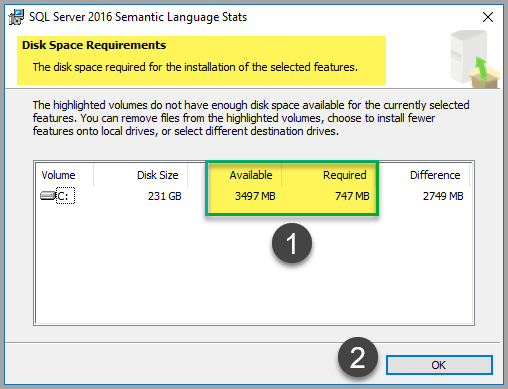
Once you are done with the disk cost check, click OK and then click Next.
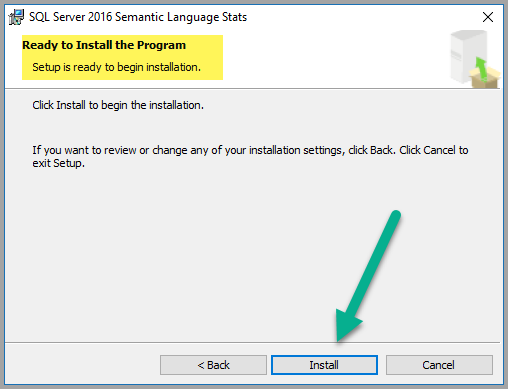
You will be asked to install the file, please Click Install (if interested to do so):
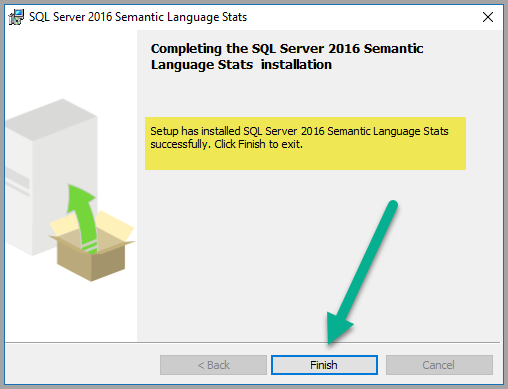
Click Finish once the installation is done successfully, which should look like the screenshot below:
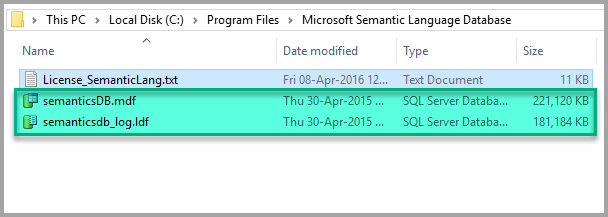
Locate the folder where the Semantic Language Database was installed by default (C:\Program Files\Microsoft Semantic Language Database):
Everything looks good, so copy the Data and Log file to your SQL instance Data folder as shown below:
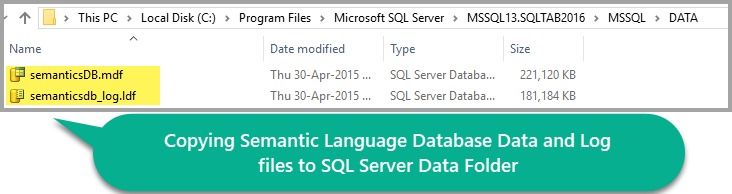
Please remember the path of the DATA folder may vary based on your SQL Server version.
Attach Semantic Language Database to SQL Instance
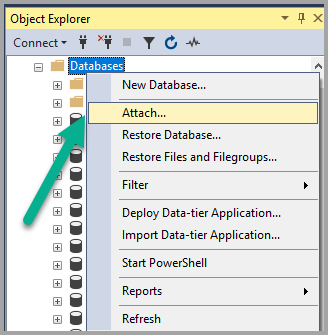
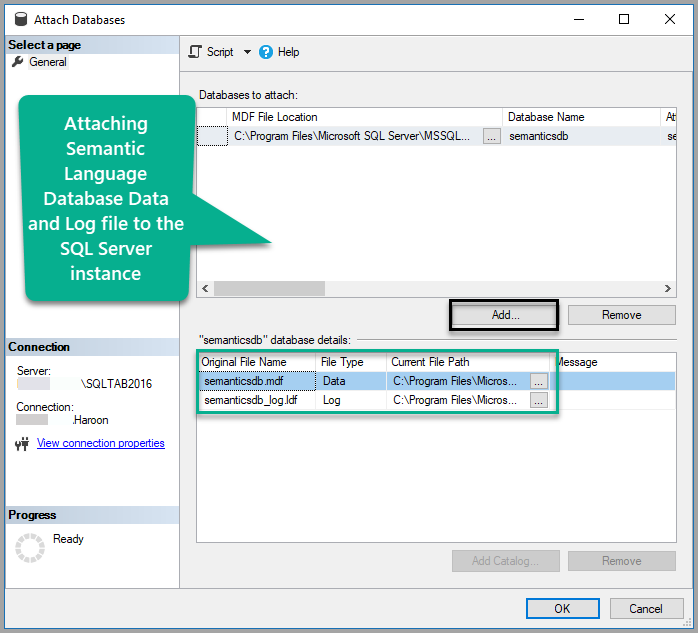
Right Click the Databases node under Object Explorer in SSMS (SQL Server Management Studio) and click Attach:
Add Semanticsdb.mdf and click OK:
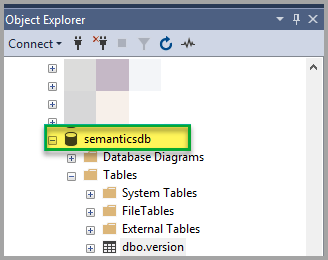
View the database:
Register Semantic Database
Type the following script against the master database to register the Semantic Language Statistics Database:
-- Register Semantic Language Statistics Database
EXEC sp_fulltext_semantic_register_language_statistics_db @dbname = N'semanticsdb';
GO
Check the Semantic Database Status
Check the Semantic Language Statistics Database status by running the following script against the master database:
-- Check Semantic Language Statistics Database status
SELECT * FROM sys.fulltext_semantic_language_statistics_database;
GO
The output must not be empty and would be as follows:
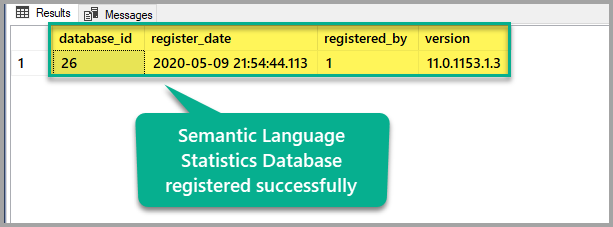
Please remember the values above may differ on your machine, which is normal as long as you see a row, then this means semantic language statistics database has been successfully installed on your SQL instance.
Using Semantic Search
Once Semantic Search is all set up, we are ready to use it in SQL Server.
Semantic Search Scenario
We are going to store employees’ documents (samples) in rich text format in the SQL Server database to be searched and compared later on using Semantic Search.
Set up an EmployeesSample Database
Create a sample database with a single table by running the T-SQL script against the master database as follows:
-- (1) Setup sample database
Create DATABASE EmployeesSample;
GO

USE EmployeesSample

-- (2) Create EmployeesForSemanticSearch table
CREATE TABLE [dbo].[EmployeesForSemanticSearch](
	[EmpID] [int] NOT NULL,
	[DocumentName] [varchar](200) NULL,
	[EmpDocument] [varbinary](max) NULL,
	[EmpDocumentType] [varchar](200) NULL,
 CONSTRAINT [PK_EmployeesForSemanticSearch_EmpID] PRIMARY KEY CLUSTERED
(
	[EmpID] ASC
)WITH (PAD_INDEX = OFF, STATISTICS_NORECOMPUTE = OFF, IGNORE_DUP_KEY = OFF, ALLOW_ROW_LOCKS = ON, ALLOW_PAGE_LOCKS = ON) ON [PRIMARY]
) ON [PRIMARY] TEXTIMAGE_ON [PRIMARY]
GO
Check the Sample Database
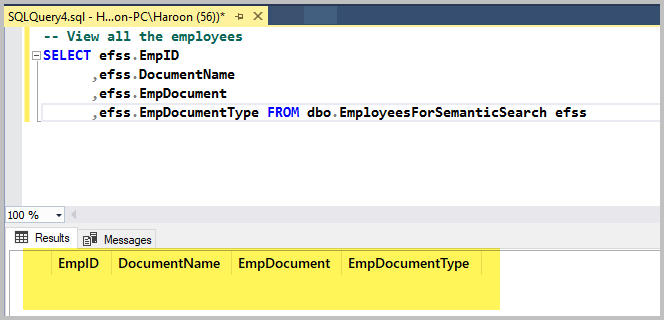
Run the following script just to check the sample database table:
-- View all the employees
SELECT efss.EmpID
      ,efss.DocumentName
      ,efss.EmpDocument
      ,efss.EmpDocumentType FROM dbo.EmployeesForSemanticSearch efss
The output is as follows:
Add the First Rich Text File Using dbForge Studio for SQL Server
We are going to add binary data to the tables, which is represented by rich text files, using dbForge Studio for SQL Server.
Open the sample database EmployeesSample in dbForge Studio for SQL Server.
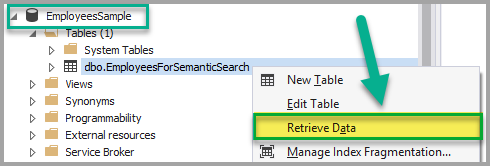
Right Click the EmployeesForSemanticSearch table and Click Retrieve Data:
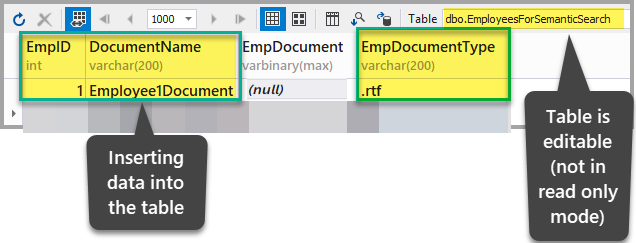
Add the following data to the EmployeesForSemanticSearch table except for the EmpDocument column after ensuring the table is not in read-only mode:
EmpID: 1
DocumentName: Employee1Document
EmpDocument:(null)
EmpDocumentType: .rtf
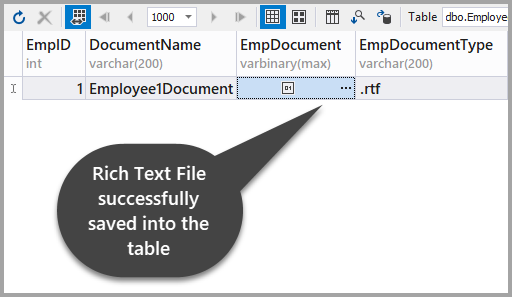
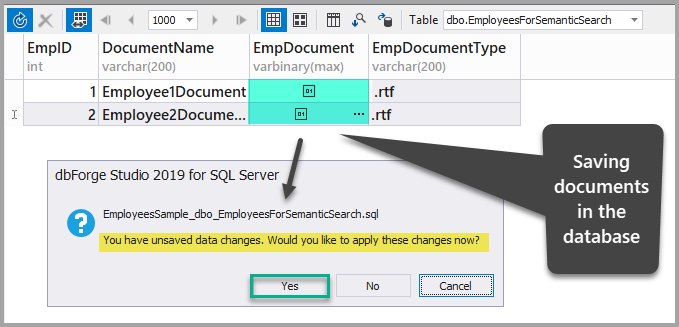
Insert a rich text format document into the EmpDocument column by adding the following text into the table (clicking ellipses and adding the data):
This is a research based article and it is a new research which is in process but this is superb in the field of research.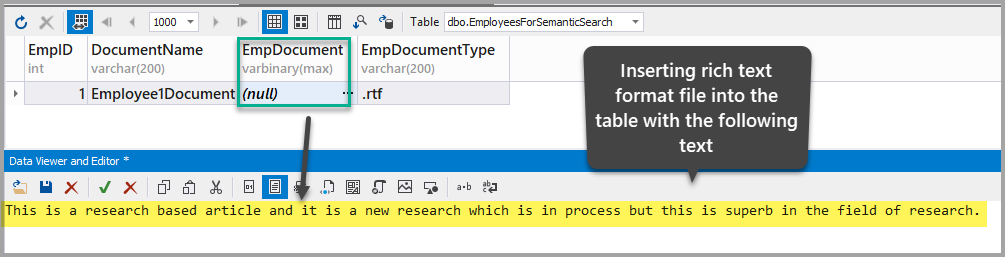
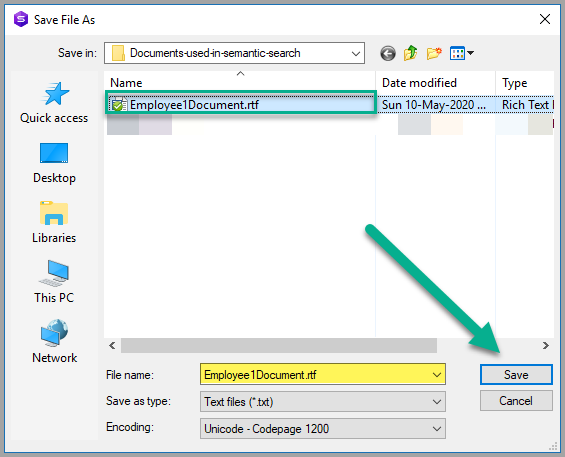
Save the document as Employee1Document.rtf in any suitable windows folder:
Please apply the changes to see that you have successfully stored a rich text file into the table:
Add the Second Rich Text File Using dbForge Studio for SQL Server
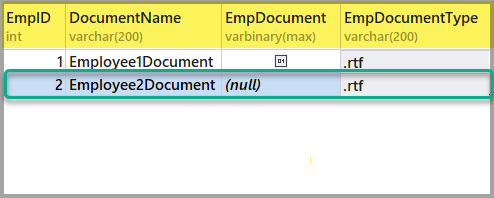
Next, add another rich text file to the EmployeesForSemanticSearch table in the same way as above using the following information:
EmpID: 2
DocumentName: Employee2Document
EmpDocument:(null)
EmpDocumentType: .rtf
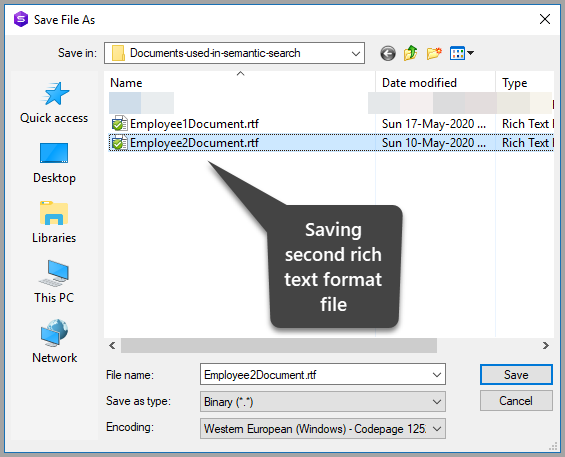
Add another Rich Text File with the following text:
This is an article which is about facts and figures with little research in it it talks about fact and figures just facts and figures.
Save the document in the same folder as follows:
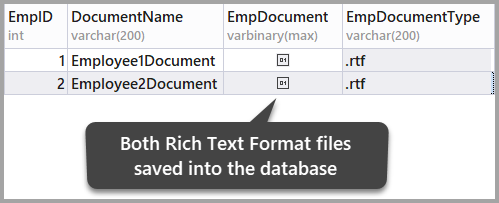
Save the data by refreshing the table and then confirming the changes you have just made by clicking yes:
Create a unique index, full-text index, and semantic index using Wizard
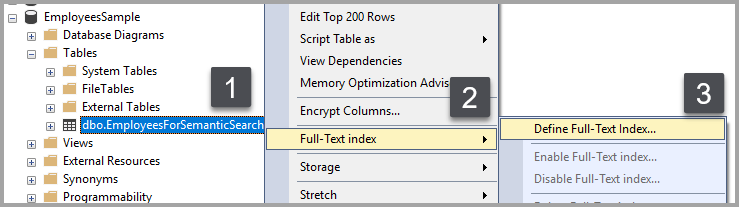
Back in SSMS (SQL Server Management Studio), right-click the table and click Full-Text index and then click Define Full-Text index… as shown below:
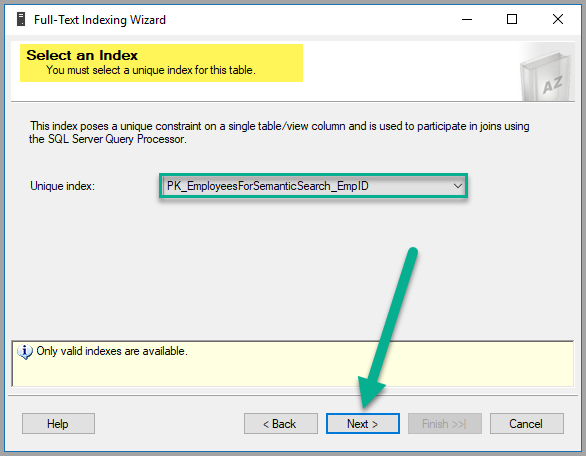
Next, you have to select a unique index, which is in fact selected by default, as we created EmpID primary key column earlier as shown below, therefore, click Next to continue:
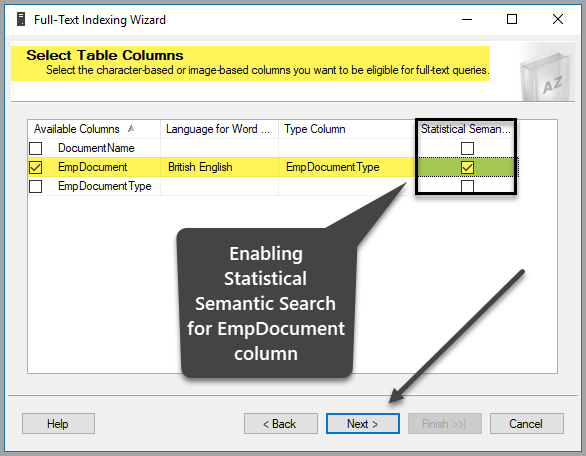
Please select EmpDocument from Available Columns, British English as Language for Word Breaker, EmpDocumentType as Type Column and check the Statistical Semantic Search box in the same row as follows:
Select the change tracking option by leaving it to be default settings unless you have a solid reason to change these settings:
Create a new Catalog as EmployeeCatalog:
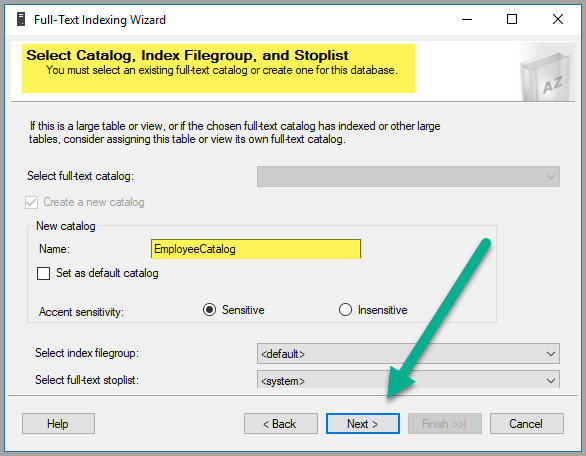
Click Next again:
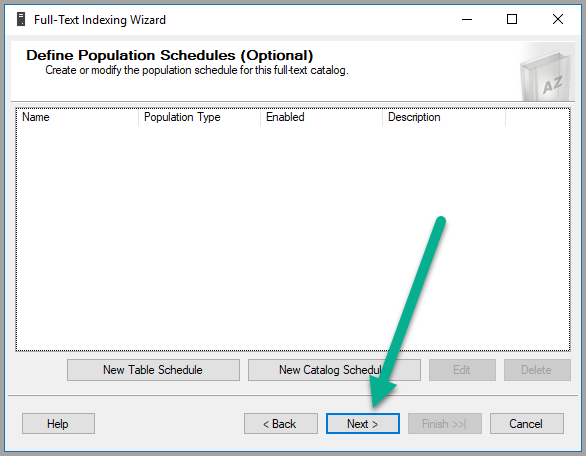
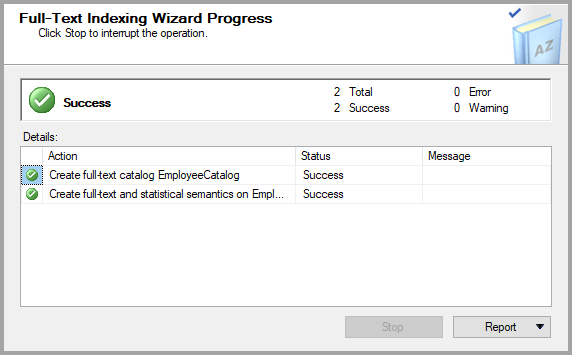
Finally, after a few more clicks (Click Next), the required table is ready to be queried by Semantic Search:
Check if Semantic Search is enabled for a table
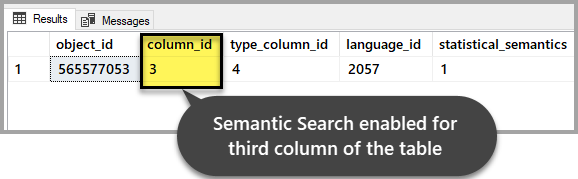
Please check if Semantic Search remains intact for the table of interest by running the following script against the sample database:
-- Check if Semantic Search is enabled for a database, table, and column
SELECT * FROM sys.fulltext_index_columns WHERE object_id = OBJECT_ID('EmployeesForSemanticSearch')
GO
The output should indicate that it has been enabled for the third column as we set it up at the beginning of the walkthrough:
Example 1: Using Semantic Search Score to Find a Relevant Document
We can now use Semantic Search to compare two documents to find a keyword of interest and its relative score, which helps to point us to more relevant documents.
If we are interested to view the document where the word “research” is mentioned more often as compared to the other document, then we have to keep an eye on the score for each of the documents when we run the following T-SQL script:
-- Using Semantic Search to find the score for the word research in both documents
SELECT TOP (100) DOC_TBL.EmpID, DOC_TBL.EmpDocumentType,KEYP_TBL.keyphrase,
KEYP_TBL.score
FROM
EmployeesForSemanticSearch AS DOC_TBL
    INNER JOIN SEMANTICKEYPHRASETABLE
    (
    EmployeesForSemanticSearch,
    EmpDocument
    ) AS KEYP_TBL
ON DOC_TBL.EmpID = KEYP_TBL.document_key
WHERE KEYP_TBL.keyphrase = 'research'
ORDER BY KEYP_TBL.Score DESC;
The result of the query above is as follows:
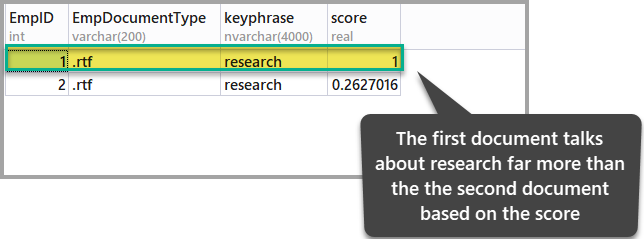
The document with the highest score shows it has more relevance as compared to the other document as far as our point of interest (research) is concerned.
Example 2: Using Semantic Search Score to Find a Relevant Document
We can also find the document where the word “fact” dominates when compared against any other document by running the script below:
-- Using Semantic Search to find the score for the word fact in both documents
SELECT TOP (100) DOC_TBL.EmpID, DOC_TBL.EmpDocumentType,KEYP_TBL.keyphrase,
KEYP_TBL.score
FROM
EmployeesForSemanticSearch AS DOC_TBL
    INNER JOIN SEMANTICKEYPHRASETABLE
    (
    EmployeesForSemanticSearch,
    EmpDocument
    ) AS KEYP_TBL
ON DOC_TBL.EmpID = KEYP_TBL.document_key
WHERE KEYP_TBL.keyphrase = 'fact'
ORDER BY KEYP_TBL.Score DESC;
The results are as follows:
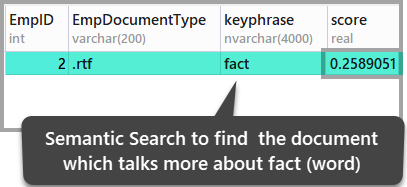
The results above lead to the conclusion that the second stored document is the only document where the word fact is mentioned, but if you would like to check these results, open up the stored documents to have a look at them.
Congratulations! You have successfully learned to not only set up Semantic Search in SQL Server but also gained some hands-on experience of using Semantic Search.
Things to do
Now that you can set up and write some basic Semantic Search queries, do try the following to further improve your skills:
- Try adding another document that tells about research and then run the script in the first example to see which document is the most relevant document by comparing their scores.
- Keeping this article in mind, add another document where the word fact is mentioned a couple of times and then run the T-SQL in example 2 of this article to see if the results stay the same or change.
- Try using Semantic Search by adding more documents and more text to both existing and new documents and then finding the documents that match your words of interest.
- Explore the examples further on to find out on your own if Semantic Search is case sensitive or case insensitive (Hint: You can slightly modify the examples).


