Azure CLI is a Microsoft cross-platform tool that allows users to remotely access Azure services via their command line. The current article will describe installing Azure CLI 2.0 on Windows. However, before we go to perform this task, we’ll briefly review what Microsoft Azure is, what services it provides, and how to sign up with Microsoft Azure.
Let’s begin without ado.
What is Microsoft Azure?
Microsoft Azure is a cloud computing platform providing a range of services, such as data analytics, computing, storage, and networking.
With such a cloud computing platform, you don’t have to purchase expensive hardware or bother about operating systems and runtimes. In some cases, you don’t even go through the installing processes. The applications you want are stored remotely on Microsoft Azure’s Server, and the hardware and operating system are managed by Azure.
Besides, due to the cloud nature of the Azure platform, you can access it from anywhere in the world. All you need is an Internet connection and a hardware device such as a laptop. Then you can manage your applications remotely and conveniently.
The Scope of Microsoft Azure
Azure services belong to three main categories:
- Infrastructure as a Service (IaaS).
- Platform as a Service (PaaS).
- Software as a Service (SaaS)
Infrastructure as a Service (IaaS)
IaaS services provided by Azure include the infrastructure and logistic support that you would otherwise need to buy to run your application. However, with the Azure hardware services, you won’t need to buy a single piece of hardware. Rather you can deploy your application on Azure IaaS, and Azure will take care of the resource management according to the purchased plan.
We can classify the services provided by Azure IaaS further into three groups:
- Computing services, such as hardware processors;
- Networking services, such as network, hubs, DNS, routers, etc.;
- Storage and memory services, such as hard drive space and RAM.
Azure never runs out of space (provided you buy the appropriate plan). Storage and memory size depends upon the Azure virtual machine type you are going to use. For instance, for Eav4 and Easv4, Azure VM-series 672 GBs of RAM and 2,400 GBs of SSD-based temporary storage are provided.
With IaaS, you are responsible for deploying applications, operating systems, virtual machines, applications, and provide controlled access to data.
Platform as a Service (PaaS)
Azure PaaS allows you “skipping” the processes of installing and managing operating systems and virtual machines. You are only responsible for developing, deploying, and managing access to your applications. Azure will manage operating systems, runtimes, and virtual machines for you.
Virtual machines may belong to different categories depending on your subscription type and hardware specifications, such as process, memory size, storage spaces, etc. You can refer to the official Azure page for more data on Azure Virtual Machine.
Software as a Services (SaaS)
Azure SaaS covers everything included in Azure IaaS and PaaS. Besides, Azure SaaS provides software utility services that the user can access remotely. There is no need to develop and deploy anything on the Azure cloud. Instead, users can build the software into Azure applications (Microsoft Office tools, Dropbox, etc.), third-party apps. Azure manages everything, and you only need an Internet connection and a laptop to access the applications remotely.
Now, let’s create a free account with Microsoft Azure. After that, we’ll explore remote accessing that account via Azure CLI 2.0 on Windows OS.
Creating an Online Account with Azure
The free account provides 12 months of free services for certain products. To sign up for that free account with Azure, follow these steps:
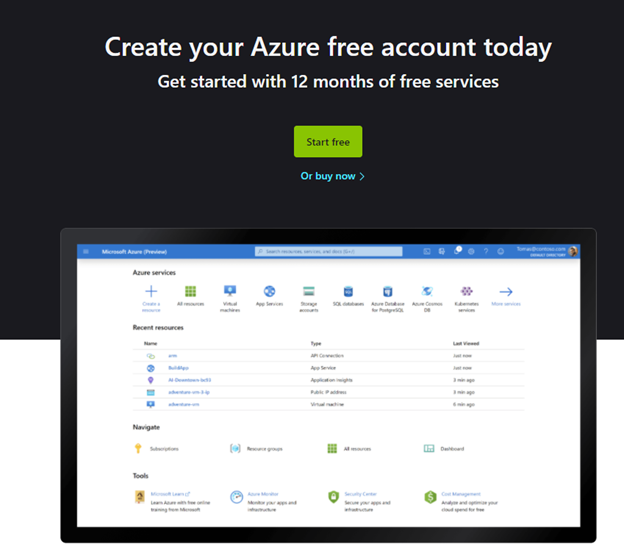
- Go to https://azure.microsoft.com/en-us/free/ and click Start free:
2. You will be prompted to enter your Microsoft login details:
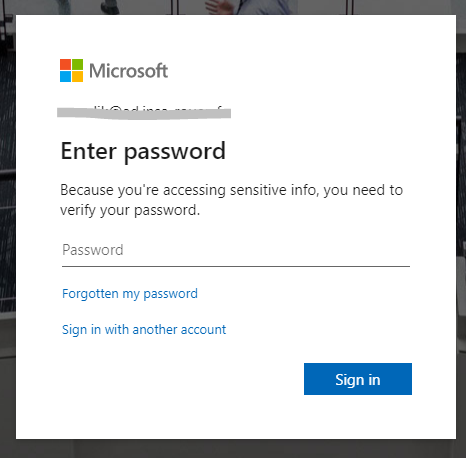
Note: You can use your email, phone number, or Skype ID to sign in.
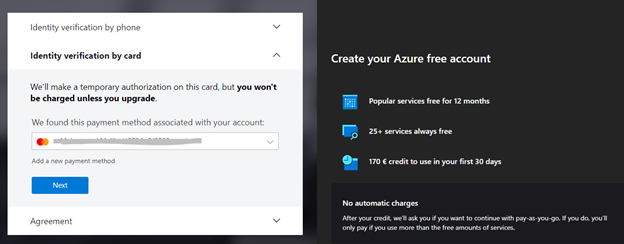
3. After logging in, it will ask you to add a payment method. Enter the credit/debit card details. Do not worry, you will not be charged unless you upgrade your plan.
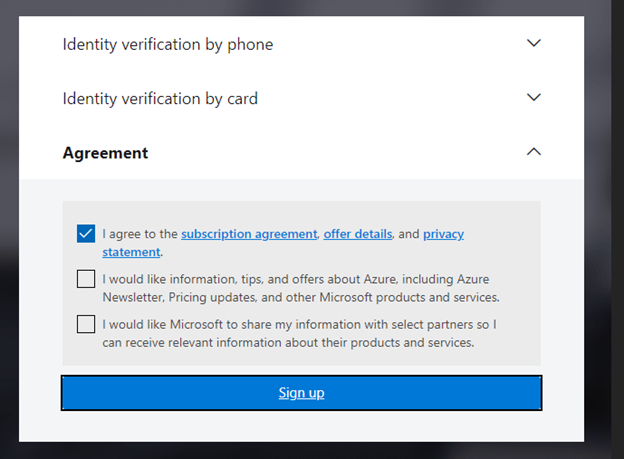
4. The system will present you with the service agreement. Check I agree… and click Sign up.
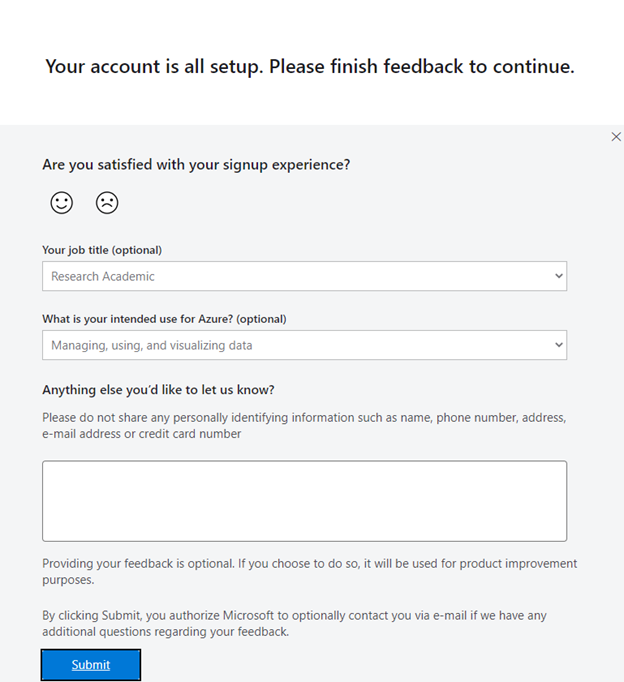
5. Once you’ve signed up, the system will ask you to provide some feedback. Fill in the required fields and click Submit.
6. Finally, it will again ask you to sign in to your account. Enter the same Microsoft credentials you used to sign up with Azure.
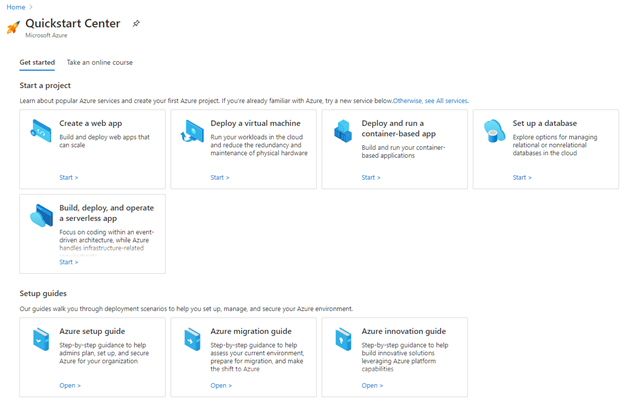
You will get to the Azure Portal QuickStart Center to select any service you’d like to run remotely via Azure cloud:
Installing Azure CLI 2.0 on Microsoft Windows
After signing up with Microsoft Azure, you can use various ways to manage and administer your Azure Services. For instance, you can turn to the Azure web portal, Azure PowerShell, or Azure APIs. Microsoft has introduced the CLI (command-line interface) cross-platform tool for managing Azure applications via the command line.
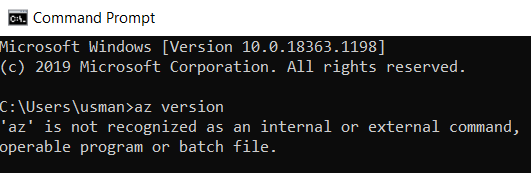
To check if you already have Azure CLI installed, open your command terminal and type az version. If Azure CLI is present, you will see its version number. Otherwise, you get the following message:
Thus, we have to install this tool ourselves.
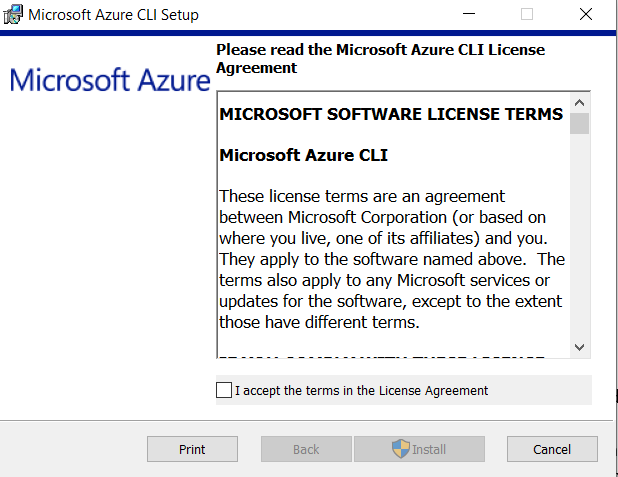
- Click https://aka.ms/installazurecliwindows and download the Microsoft installer package for Azure CLI to your local drive. Execute the file, and it will display the License Agreement. Accept it and click Install.
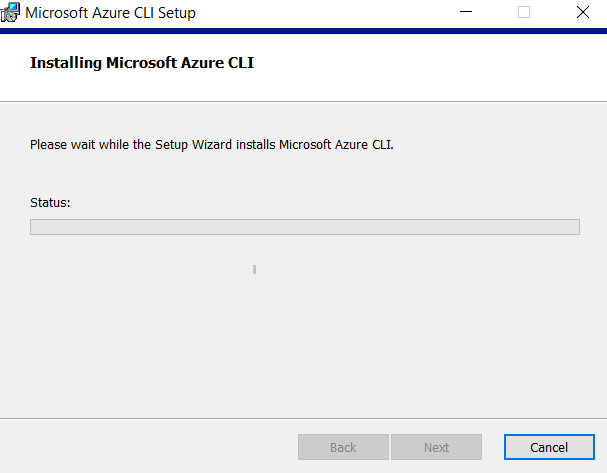
2. The process of installing Azure CLI on your computer will start:
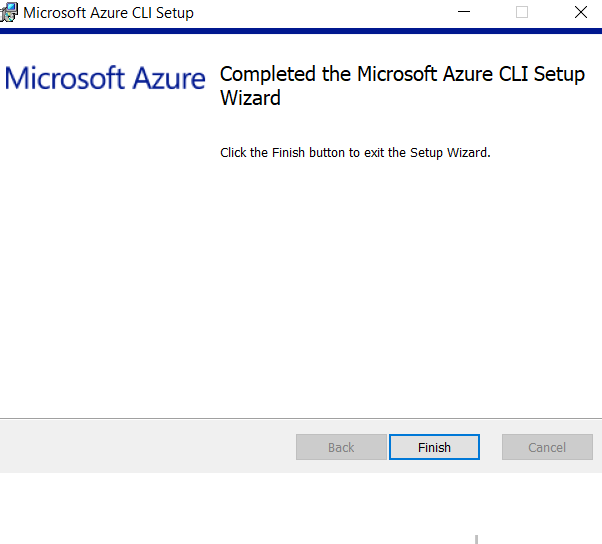
3. Once the installation is complete, you’ll get the following window. Click Finish.
To ensure that you’ve installed Azure CLI 2.0 correctly, run again the command az version on your command control. This time you should see the Azure CLI version. As you see, it is 2.15.1:

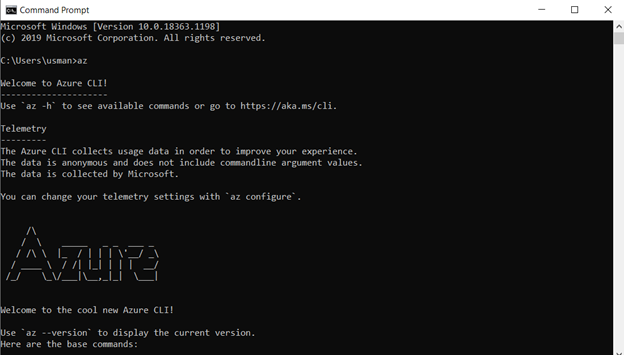
To view the options available with Azure CLI 2.0 on Microsoft Windows, type az on the command terminal. You should see the following output:
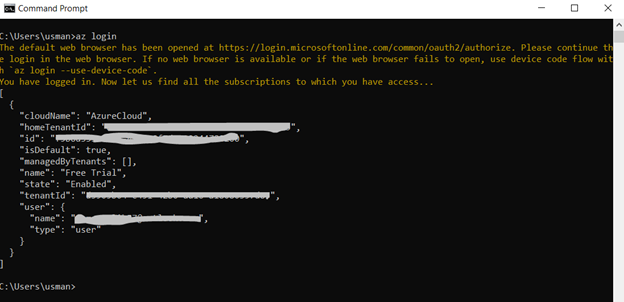
To login to your Azure account, type az login

The above command will open your default browser. You need to enter your Azure credentials there and log in. If done successfully, the browser will show the following message:

The command line will also show you the message that you have logged. The output will include your cloud name, your client id, and the type of subscription:
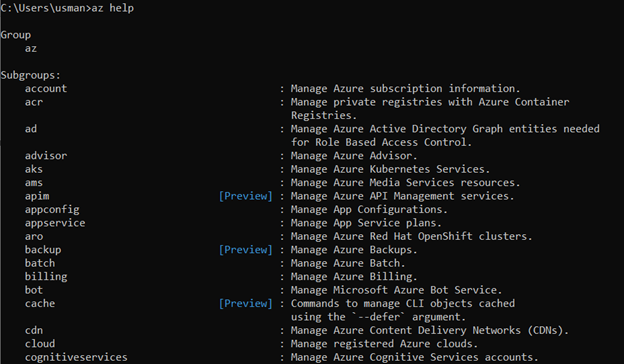
Now, you can manage and administer Azure services via Azure CLI 2.0. For example, to get help, type az h.
It will display the list of commands for various Azure services:
Conclusion
This article explained the essence and scope of Microsoft Azure and explored the specific Azure CLI 2.0 tool. We’ve described the process of installing this tool and defined some basic commands to work with Azure via the command-line interface.
Note that the most detailed information about the commands and operations to perform on your Azure cloud via the Azure CLI is always present in the official documentation.
Tags: azure cli, Microsoft Azure Last modified: September 17, 2021