
Microsoft has been supporting SQL Server for Linux-based operating systems since the SQL Server 2017 release. The current article will focus on installing one of the popular Linux operating systems Ubuntu 18.04 and describe the process step by step. The goal is to install the latest MS SQL 2019 on this operating system and explain how to configure it in your production environment or set up your own lab.

To install the SQL Server instance, we need a machine and a supported operating system. Thus, we will first create the machine and then will install the operating system. Below are our goals:
- Build a system or a virtual machine to install the Ubuntu OS
- Install Ubuntu 18.04
- Install SQL Server
- Install SQL Server Tools
If you don’t have a system to install Ubuntu at the moment, I would recommend you install the latest version of the VMware workstation PRO. It is an industry leader in running multiple virtual machines from a single host computer.
The current article will cover the first two tasks: Build a system or virtual machine to install Ubuntu operating system and Install Ubuntu 18.04. The remaining tasks will be the focus of the next articles.
Before going ahead, we should also validate the basic system requirement to install Ubuntu 18.04 for SQL Server 2019:
- CPU: 1.4GHz or more
- RAM: 2 GB or more
- Disk: 10 GB or more
The above values are for testing machines. It should not be a configuration for your production systems. I would recommend you have proper capacity planning in place for the workload for your system. If you want to master and configure your lab, the above configuration will be considered.
Let’s create a virtual machine using VMware Workstation for Ubuntu. Then we’ll install Ubuntu Linux on it. Note: I will explain the step-by-step process to install the Ubuntu server edition and not the desktop edition which has a graphical user interface for end-users.
You can also learn how to install MySQL Server in Ubuntu 18.04.
Create a Virtual Machine using VMware
Workstation for Ubuntu
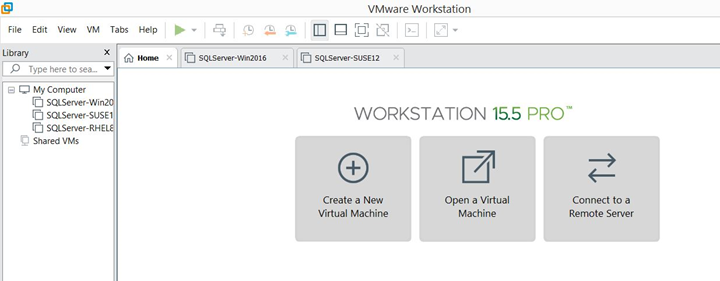
Launch VMware Workstation to create a virtual machine. As you can see in the image below, I have already created 3 virtual machines for various requirements. These machines are accessible from the left-side pane. Now, I will create one more virtual machine where we plan to install the Ubuntu Linux server.
Click Create a New Virtual Machine on the right-side pane:
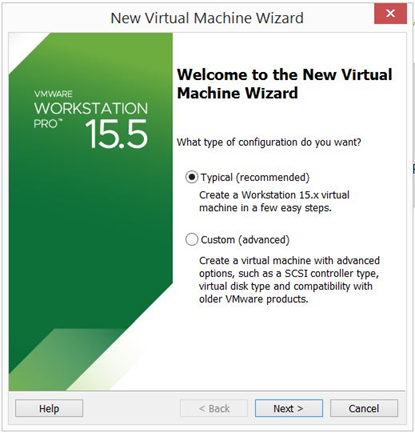
You will get a New Virtual Machine Wizard With two options:
- Typical (recommended)
- Custom (advanced)
We need to select one according to our type of virtual machine configuration. As Typical is recommended, let’s select it. Click Next.
The below screen will appear. You need to select the target operating system installer image file. If you don’t have an operating system installer image file ready and want to install the OS later, you can choose the last option – I will install the operating system later.
I have the installer image file ready, so I have chosen the Installer disc image file option. Click the browse button to select the file (you can download the Ubuntu Linux installer image from their website).
The New Virtual Machine Wizard will automatically detect the selected installer image file and display its version. This OS is qualified for the VMware Workstation’s Easy Install feature that automates the guest OS installation.
Click Next to fill in details for Easy Install.

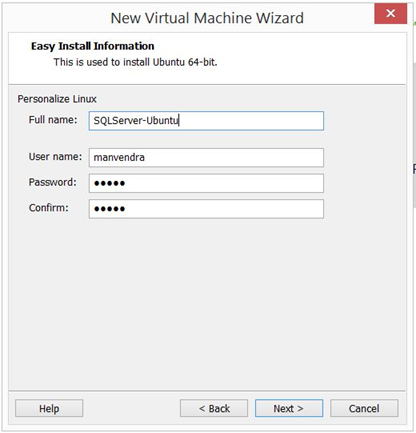
The Easy Install Information screen will ask you to enter some details, such as username and password to install the Ubuntu server. Fill in the details and click Next.
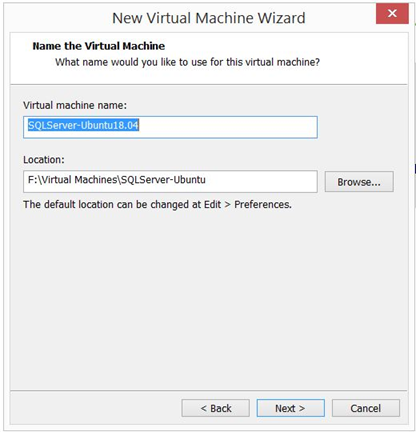
Set the name and location of the virtual machine. Ensure that you have enough space at the location where you want to save the virtual machine files. Click Next.
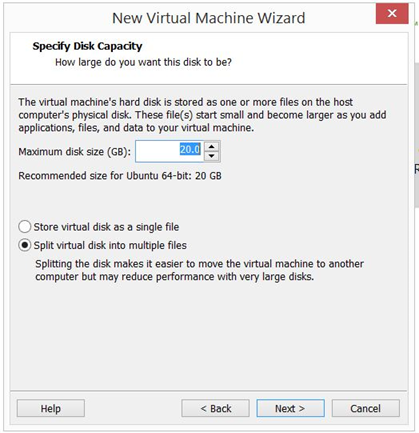
Configure the disk. You can configure its size for your requirement and choose whether to keep this virtual disk as one file or split it into multiple files. Specify your preferences and click Next.
Finally, verify the provided details and click Finish.
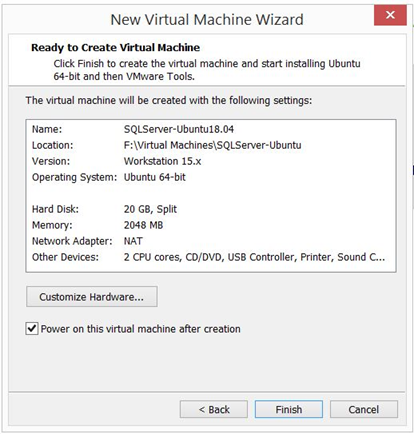
This creates your virtual machine and initiates the guest OS, i.e. Ubuntu installation with the Easy install approach.
If you want to modify any hardware-level configuration, click Customize Hardware to review and modify these settings before clicking Finish. If you don’t want to initiate this installation, uncheck this option.
If you want to know more about installing Azure Data Studio and SQL Server vNext on Linux, you can read how to install Azure Data Studio on Ubuntu.
Installing Ubuntu 18.04 Server
As we have checked the Power on this virtual machine after the creation option, this virtual machine will start to power on with initiating the Ubuntu 18.04 installation right after clicking Finish.
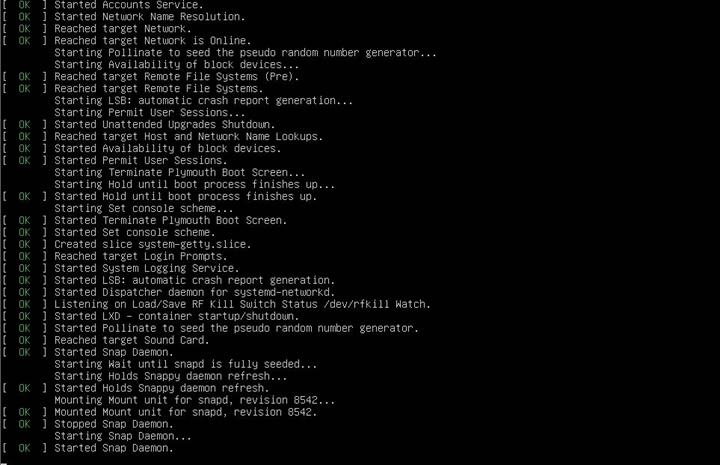
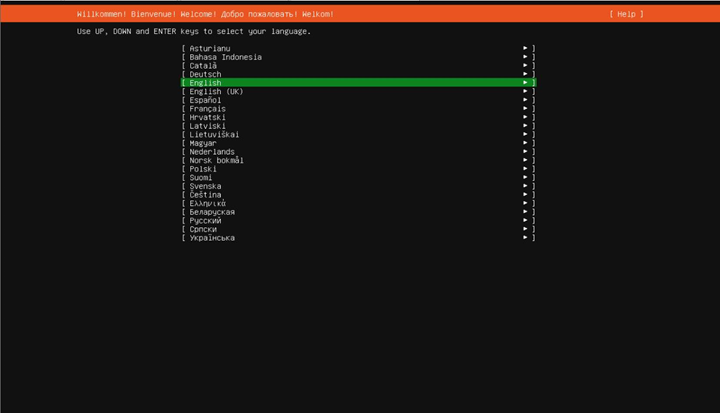
You will see a series of executions on your screen. Just wait until you get the welcome screen. Select the language and press Enter to proceed.
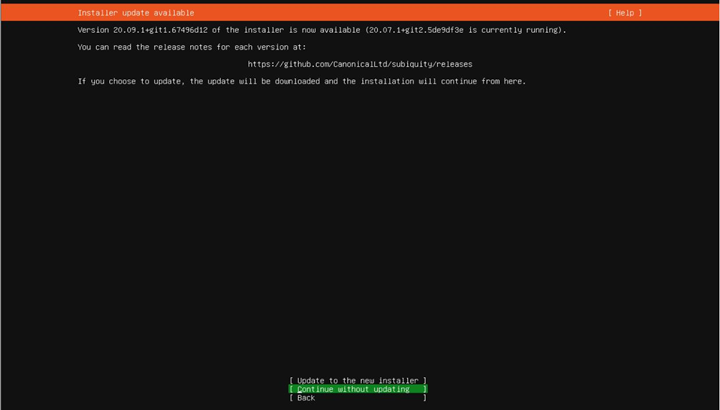
After that, you get a notification about an Installer update available for this operating system package. You can choose the options you prefer. I have chosen Continue without updating highlighted in green (see the bottom of the image below). Press Enter to proceed.
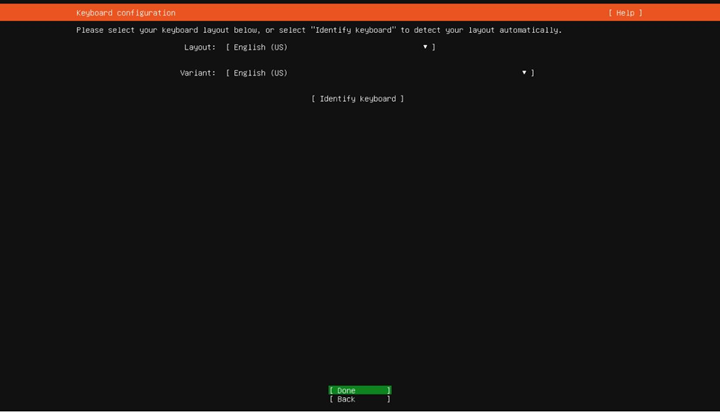
The next screen offers you to configure the keyboard layout. Select your preferences and press Enter.
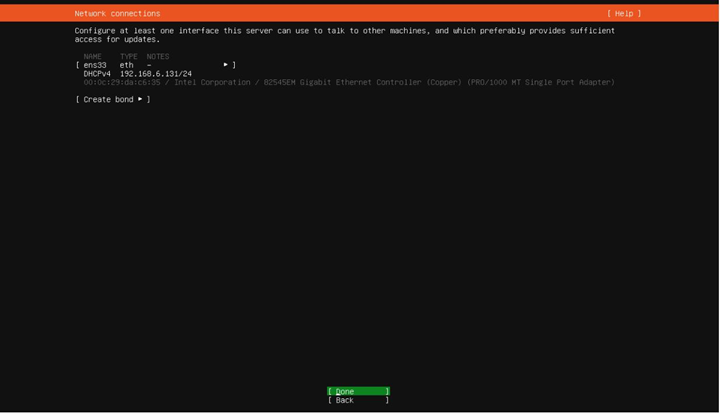
Now, you should specify the Network connections. I have left settings as-is. Click Enter.
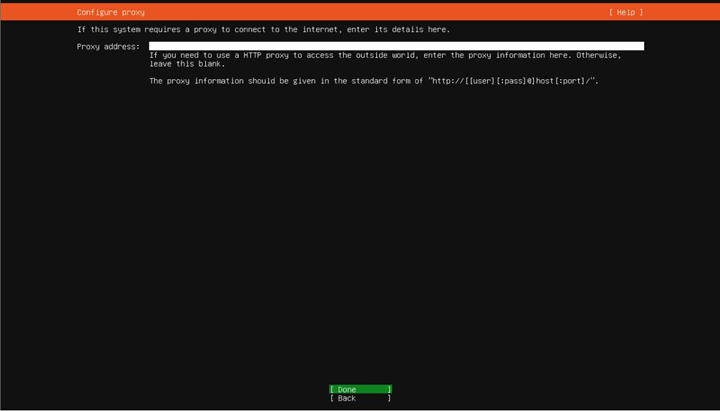
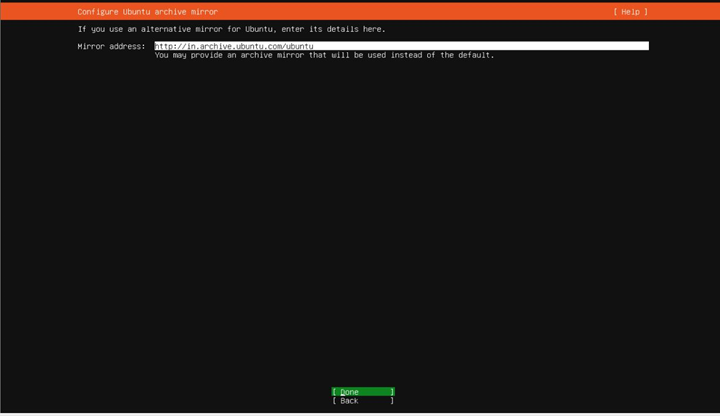
Configure proxy. I have left the default values and pressed Enter to proceed.
Again, I’ve chosen to stick to the default values. Click Enter.
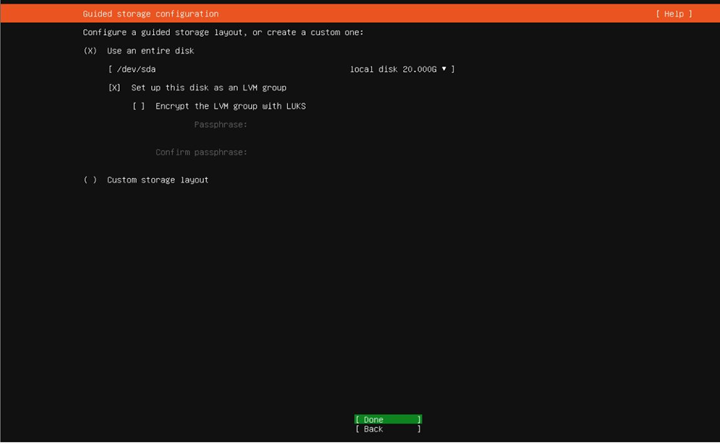
Consider the Guided storage configuration – I’ve left the defaults. Press Enter.
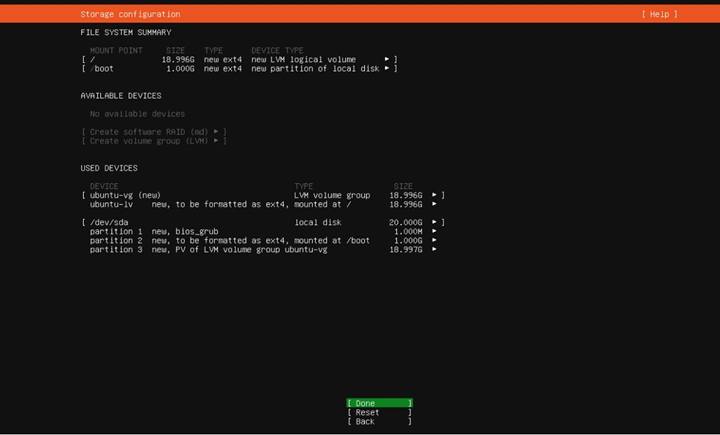
The Storage configuration may also remain the default, or you can configure it as you wish. After that, press Enter.
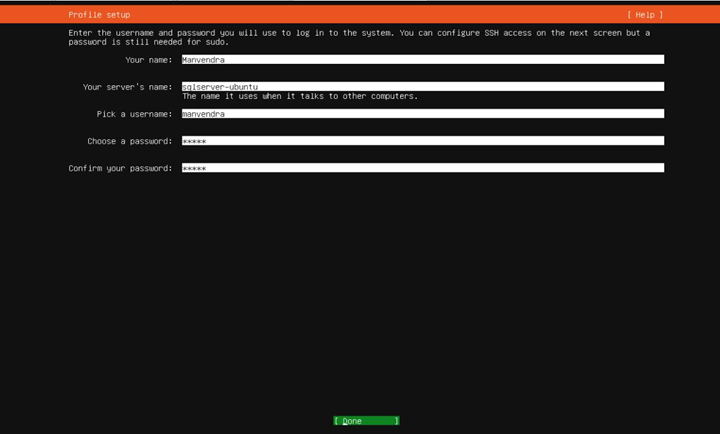
Profile setup will appear after the storage configuration screen. Here, we need to enter the details – Name, Server name, Username & password.
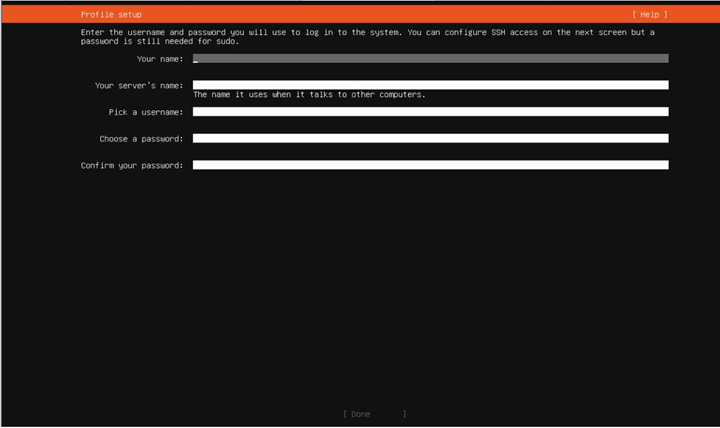
I filled in all details as shown below. Press Enter to proceed.
The next screen appears for the SSH Setup. You can choose to install the OpenSSH server and other settings as shown below. After configuring the setup, press Enter.
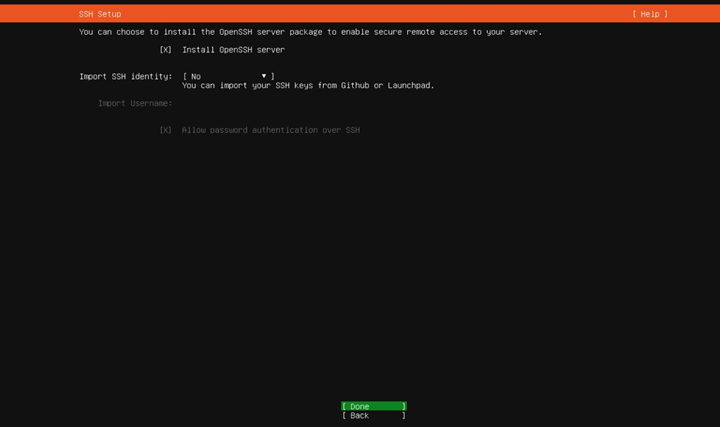
I have left the next screen as it is and proceeded to initiate the installation by hitting Enter.

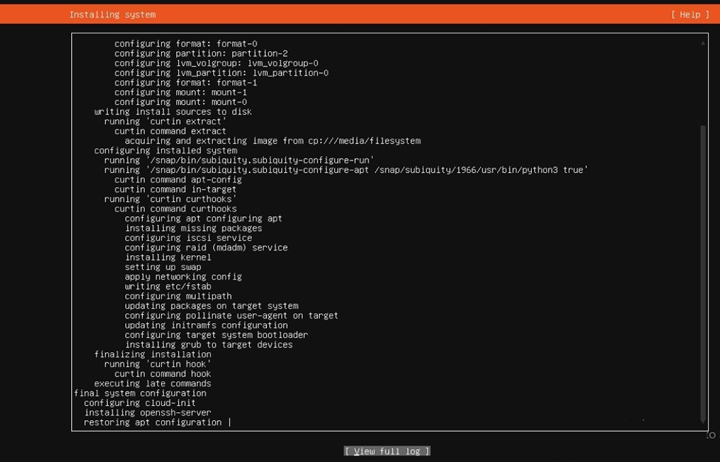
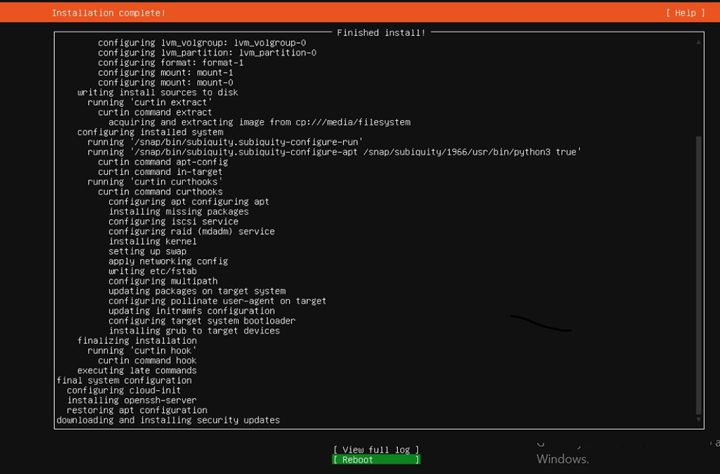
The Ubuntu 18.04 installing process has started. You don’t need to do anything – just wait for completion.
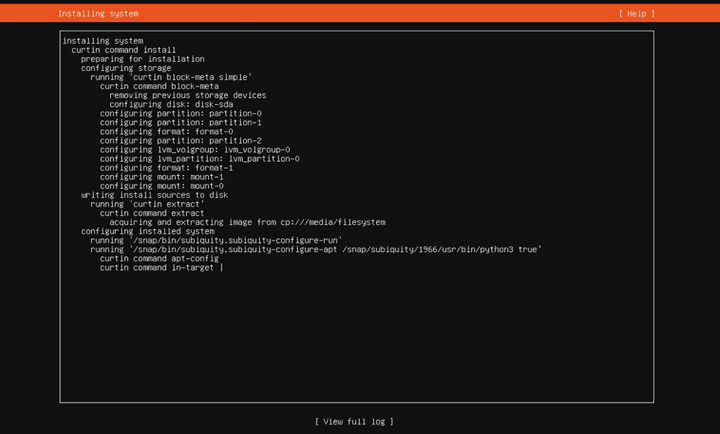
Click View full log at the bottom if you want to get familiar with the details.
Finally, the installation is complete. Next, we must reboot this machine by hitting the green tab – see the below image.
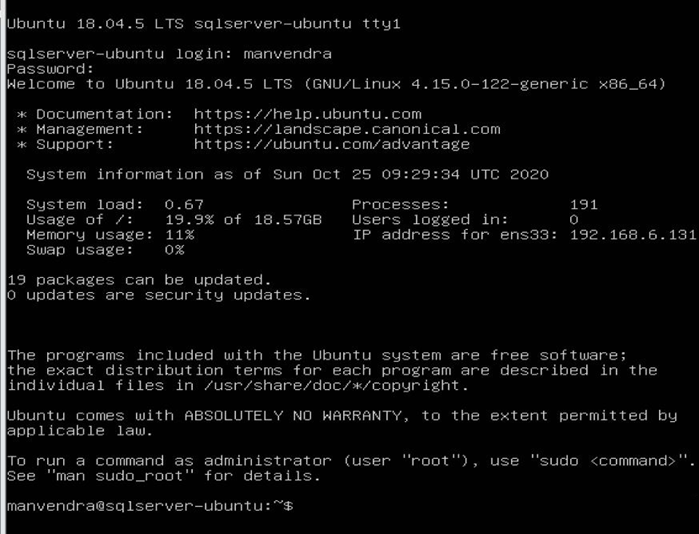
After the reboot, you can connect to this newly created virtual machine. The post-reboot image displays the OS version – Ubuntu 18.04.5. We had set the name of the virtual machine as SQLServer-Ubuntu and can see it in the login prompt.

Enter your login name and password to establish a connection with Ubuntu. I have created the username as manvendra. You’ll use your login name.
Now, we have successfully connected to the Ubuntu operating system.
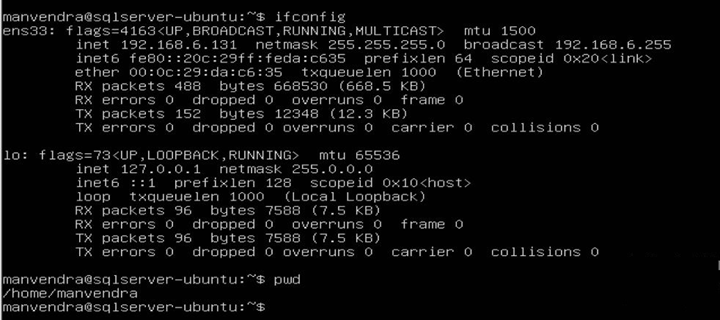
We can execute some basic commands to check and validate the essential details. The first command is to check the IP address of this new virtual machine. For that, we run the ifconfig command.
You can also go ahead and validate all configuration items of the newly-created virtual machine.
What to do after installing Ubuntu?
So you have installed Ubuntu, now what? First of all, you need to enable backup as it will prevent data loss. Then, install drivers and codecs & Microsoft fonts for faster and better work. After that, install GNOME tweaks and enable GNOME extensions to enhance the capability of a GNOME desktop. Install Ubuntu Cleaner to free up your disk space. One of the initial steps for managing data on your Ubuntu server is installing SQL Server, so don’t miss it.
Now, you know what to install on Ubuntu.
Conclusion
This article demonstrated how to create a virtual machine using VMware Workstation and how to install the Ubuntu 18.04 operating system. We also talked about what to do after you install Ubuntu. As you see, it is quite straightforward.
Stay tuned for the next article dedicated to the process of installing SQL Server 2019 on the Ubuntu 18.04 operating system. You can also read a step-by-step guide on how to install SQL Server on Linux.
Comment and share your feedback on this article. Also, let us know which topics interest you – the comment section is waiting for your suggestions!
Tags: sql server, ubuntu Last modified: October 07, 2022